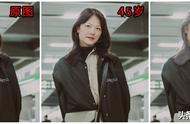
在本文中,我们了解了如何在不借助外部文件的情况下仅使用 CSS(和一个小型内联 SVG)逐步创建旧照片效果。

更改过滤镜和遮罩中的值将生成完全不同的图像。请随意下载代码并在本地试用或在 CodePen 上常看本示例。
https://codepen.io/alvaromontoro/pen/QWxXaKb
最终的代码:
HTML部分:
<div></div>
<div class="old-style"></div>
CSS部分:
div {
  display: inline-block;
  width: 45vw;
  aspect-ratio: 3/4;
  background: url(https://assets.codepen.io/1506195/portrait-woman-unsplash.jpg);
  background-position: top center;
  background-size: cover;
}

.old-style {
  position: relative;
  filter: grayscale(1) blur(1px) contrast(1.2) sepia(1) blur(0.25px);
  -webkit-mask: radial-gradient(#000, #000a);
}

.old-style::before {
  content: "";
  position: absolute;
  width: 100%;
  height: 100%;
  -webkit-mask: radial-gradient(farthest-side, #0000 30%, #000);
  backdrop-filter: blur(5px) sepia(90%);
}

.old-style::after {
  content: "";
  position: absolute;
  width: 100%;
  height: 100%;
  opacity: 0.6;
  background:
    url("data:image/svg xml;utf8,<svg xmlns='http://www.w3.org/2000/svg' width='100' height='100'><filter id='noise' x='0%' y='0%' width='100%' height='100%'><feTurbulence baseFrequency='0.5' /></filter><rect x='0' y='0' width='100%' height='100%' filter='url(#noise)' /></svg>"), #f003;
  filter: grayscale(100%) contrast(150%);
  mix-blend-mode: darken;
}
更多例子
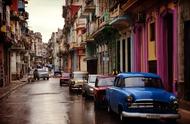
为了表明这种效果在一般情况下确实有效,而不仅仅是演示图像所特有的东西,我将它应用到更多图片(所有图片均由 Filipp Romanovski 在 Unsplash 上原创):


